My drip bucket technique – low tech drip irrigation
You look over your garden, only to discover one of your tender young plants is wilting – and it’s not your day to water your yard. We’re gardening under water restrictions: 2-times per week. what can you do?
Time for emergency care.
That’s when I bring out my drip bucket. It delivers water long and slow and deep, directly to that one suffering plant, at the same time training those roots to reach deep rather than surface and shallow.
My drip bucket technique can be used with bucketed gray water from inside your home.
My drip bucket technique is great for hydrophobic soils, where the soil is so dried out that soil grains nest tightly together and water beads up and rolls off the surface.
My drip bucket technique works on large potted plants that are too big to apply the immersion method.
And, my drip bucket technique is silly-stupid-simple, ultra low tech, and works great from found materials – which means you can do it for free!
Make your drip bucket(s)
Get an old bucket. I use some softer plastic tubs we found in a garbage bin. You could use 1 gallon milk or OJ jugs. Look around your waste stream, or ask friends what they have in theirs.
I find it easier to start with a container that has no holes, rather than beginning with too many holes and trying to plug the excess openings.
Once you have your container, get a thick safety pin, or a very slim nail. Make one hole in your container, down low, perhaps 1/2 inch or 3/4 inch from the table level. Just one tiny hole.
If you’re using a hard plastic 5 gallon container, you might need to use a fine-bit drill to achieve the hole.
If you’re using a milk jug, discard the top. You need the top open for the physics to work.
I’ve also added a fist sized rock, placed inside my drip bucket, which helps prevent the bucket from blowing away in the wind when it’s empty. If you’re using a milk jug, you can tie a string from the handle to a nearby branch/pole.
Hydrophobic conditions
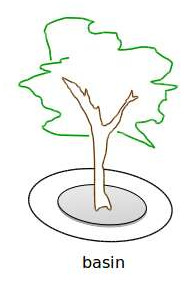
If you have hydrophobic soil, make a water-catcher basin of soil around your plant. Form the basin from soil, rather than from mulch.
The purpose of the basin will be to hold water, to make a puddle, right around your plant’s root ball. The basin should be approximately the size of your plant’s rain shadow.
The drip bucket technique can help open hydrophobic conditions.
- Read other suggestions for hydrophobic conditions.
Using your drip bucket
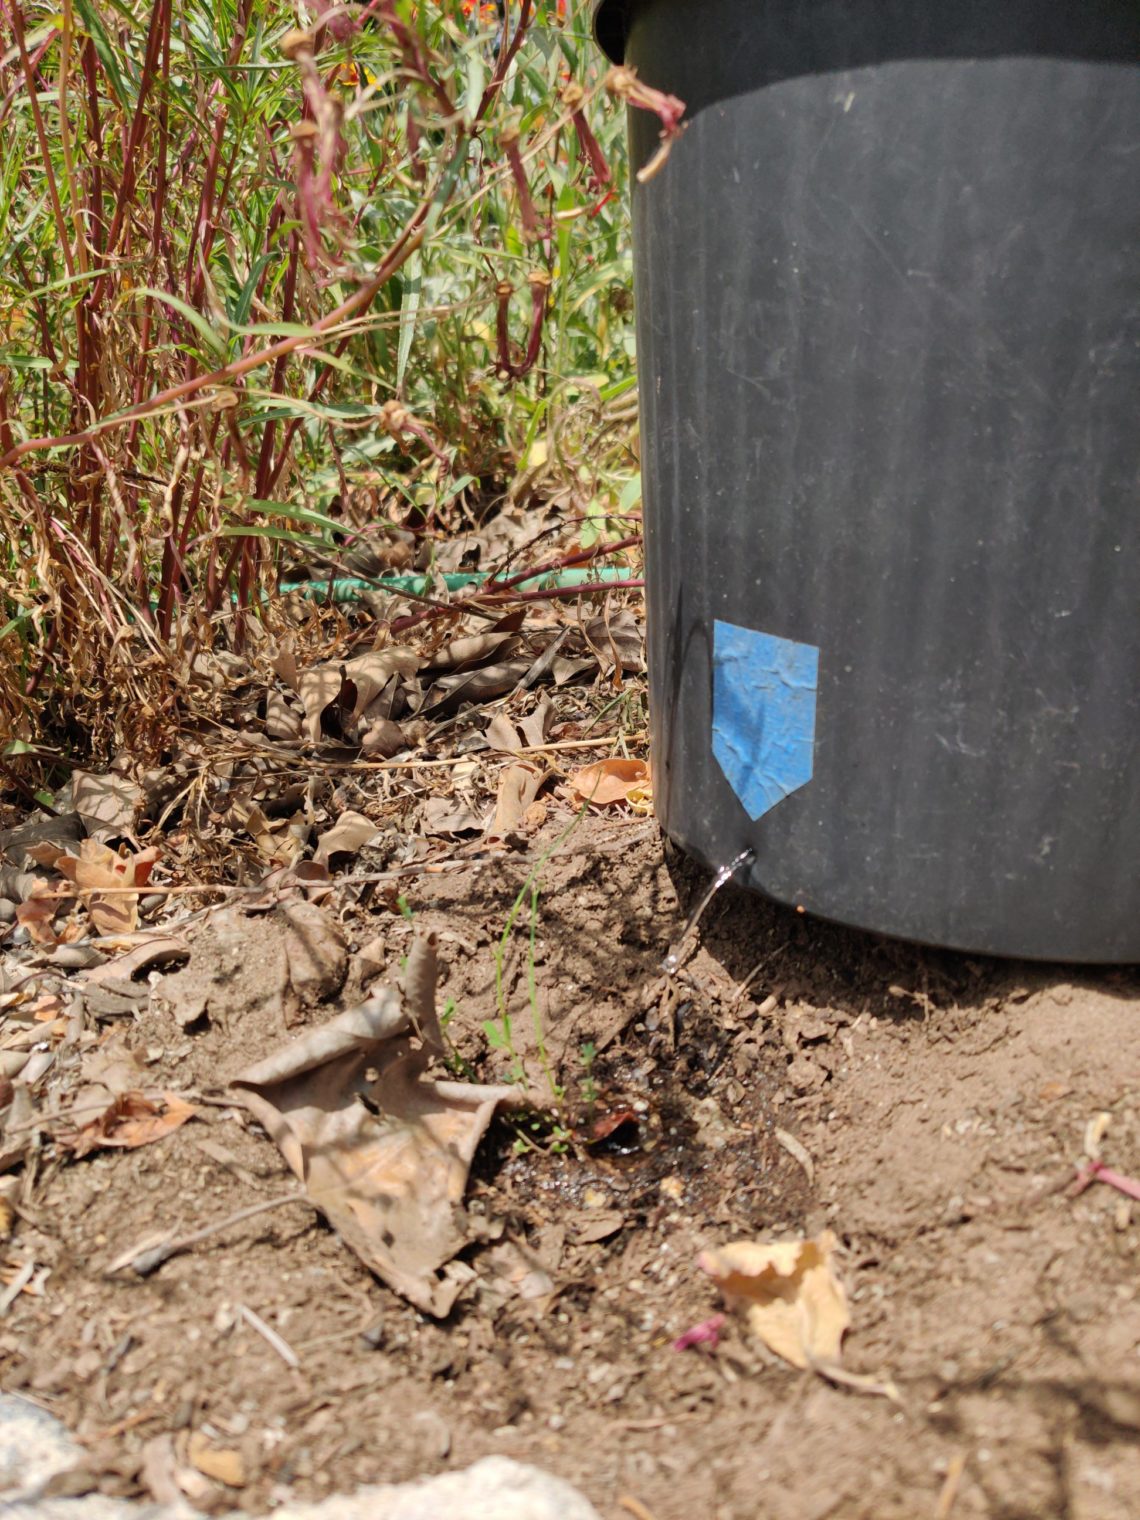
In your garden, settle your drip bucket next to the ailing plant with the pinhole pointing toward the plants root ball. Not towards its stem–you want water to flow to the roots.

On a larger plant you can use multiple drip buckets, pointing to several areas of the root ball.
Fill the bucket with water (harvested rainwater, or bucketted gray water work fine). You’ll see a little stream coming out from the pinhole.
That’s it. You can walk away. The trip bucket will very slowly empty, dribbling water to your plant.
The drip bucket technique is great for nursing new plants through what’s going to be a long, hot, dry summer.

